Are you looking to improve your underwater photography? Want to capture that perfect photograph to share with friends, on Instagram, or website? Here are some great tips for an underwater photograph! These underwater photography tips will help you improve your photography and ensure you leave your dive vacation with some of the best photos.
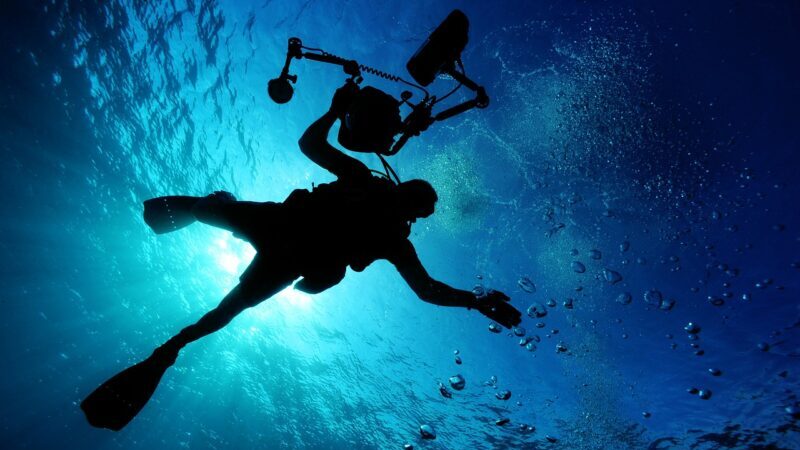
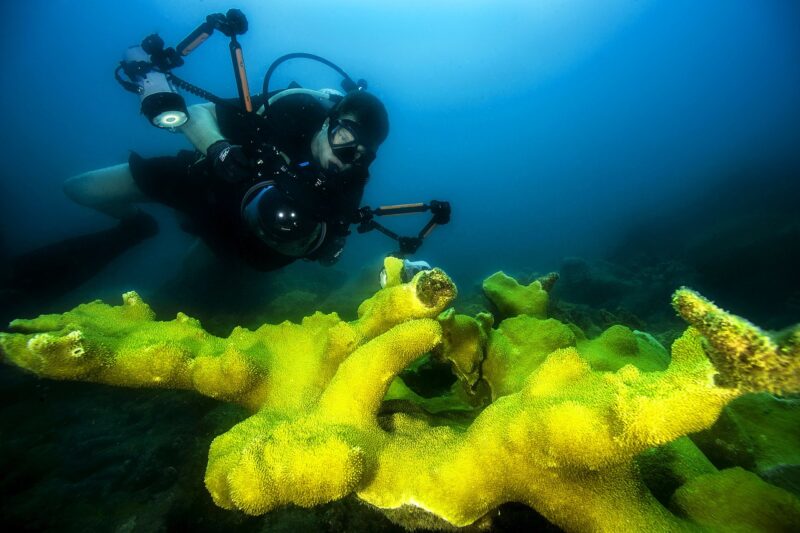
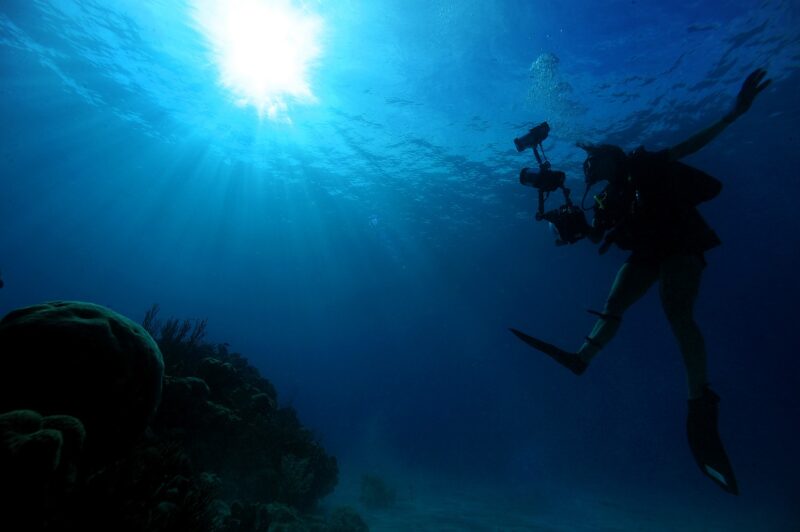
What is an underwater photographer? An underwater photographer uses specialized equipment to take amazing photos while submerged. These talented individuals possess both technical and artistic skills to capture stunning images of marine life, shipwrecks, and coral reefs. These artists must have a strong understanding of marine life, lighting, and composition. Their images showcase the stunning colors and textures found below the surface, giving us a glimpse into a world that many of us rarely see.
What is underwater photography? Underwater photography is the art of capturing stunning images beneath the surface of water. It requires specific equipment and photographic techniques that differ from regular photography. This type of photography can be done in freshwater or saltwater, capturing everything from underwater landscapes to marine life. Underwater photography allows us to see a different perspective of nature that we would otherwise miss above water. With careful planning, attention to detail, and knowledge on how light behaves underwater, you can take high-quality photos that showcase the beauty hidden below the surface.
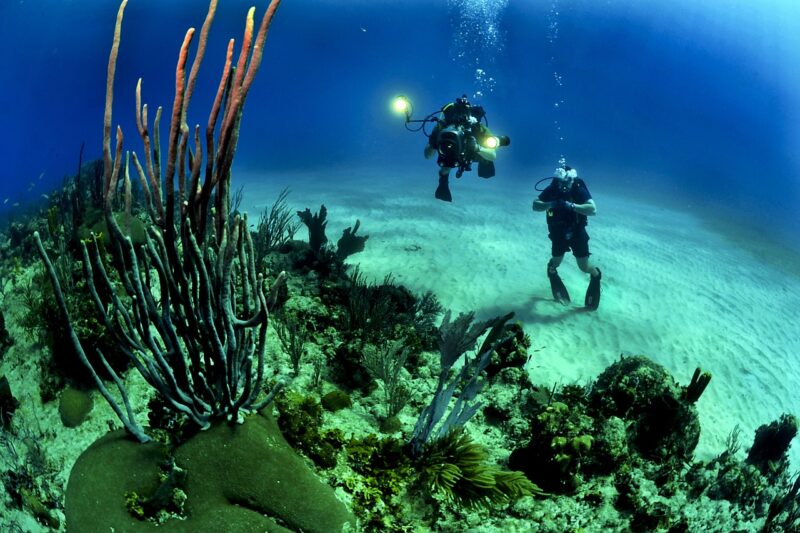
Capturing the beauties of the underwater world requires a trained hand, some technical gear and a lot of patience. Diving photography can showcase scenes that we would never be able to admire otherwise – seas full of colorful creatures, fascinating rock formations or eerie wrecks resting on the ocean bed. To take these stunning shots, photographers need to consider not only light exposure and shutter speed but also buoyancy, positioning and environment awareness. Indeed, diving photography is a great way to combine two passions: exploring nature and expressing creativity through images. Are you ready to dive in?
Underwater Photography Equipment
So what’s the Best Camera for Underwater Photography?
Here are the popular options for underwater cameras that come as cameras capable of just being taken underwater:
- Olympus Tough TG-6
- Sealife Micro 3.0
- Sony RX100 VII Premium
- Nikon COOLPIX W300
- Sony Alpha a7II
If you already have a DSLR, you can also look at getting an underwater protective case to use the camera underwater for photography – look at the next tab.
Personally, I started with a COOLPIX camera. I knew photography was an interest of mine – but I was not ready to spend the money that came with getting a case for my DSLR. Using a compact camera is great for those starting in the hobby of underwater photography.
If you have already spent the money on a DSLR, you will be happy to know you can take it underwater as well. Companies have made water proof casing for most DSLR cameras. Look through these companies websites to find a casing for your camera:
After becoming a more comfortable diver and wanting to take my photography up a notch – I opted to upgrade from a compact camera to a case for my DSLR. I opted for the Nauticam case as I found the materials to be of higher quality. But there are plenty of options to look through.
- Compact Camera or DSLR: first decide if you are going to get a compact camera like listed on the first tab – or to get a cases for your DSLR.
- Lenses – look at a variety of lens options. Do you want to shoot the little things or do you want to capture the larger animals?
- Strobes – like with all photography – you need light. The further you are from the surface of the ocean the less light you will have. Strobes can help counter this.
- Underwater housing and ports – if you are upgrading your DSLR, you’ll need the housing and then the attachments for the various items above.
Looking to learn or improve your underwater photography? Then look at an underwater photography class.
One of the best options is to take it through your dive certification agency. Then the course can go towards credit. For example, the underwater photography class can go towards you certification as a master diver in PADI. Look at the agencies website for class options:
The top tips for Underwater Photography:
- Master Buoyancy
- Always be ready
- Take multiple photos
- Have the right lens
- Have proper lighting
- Have the eyes in focus
- Be artistic or creative
1. Master Buoyancy
This is the most important tip for underwater photography. Why? Because this is the most important part of diving! You need to be able to control your buoyancy and move into different angles and not worry about thrashing around to maintain your position.
Being able to master your buoyancy will have a lot of advantages:
- assist you in getting into position for the photo. Sometimes that may just be in front of it, sometimes maybe that’s over it, or in a weird position because of the coral wall.
- assist you in staying in the position. If you are not properly weighted, then you may be sinking too much or find yourself too “floaty”. While you will still move with your breath, it won’t be as much
- keeps you steady. This will help as you need to be as still as possible in order to get that clear crisp photo.
Overall, as stated this is the most underwater photography tip.
If you are a beginner diver and haven’t mastered your buoyancy, then leave the camera behind and become a more confident diver first. Learn more about becoming a better diver.
2. Always Be Ready
Wildlife is wild, therefore you have to always be ready. Have the camera on, and on the correct settings.
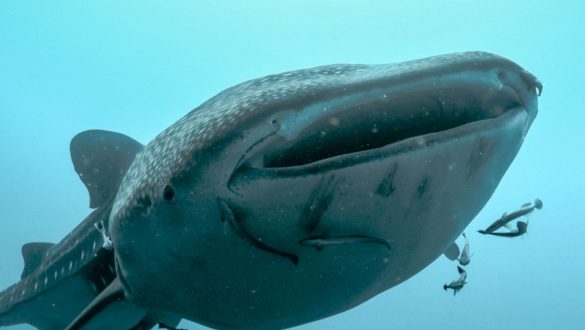
Things can happen fast underwater, that fish may only be out for a moment before going back into the coral. That whale shark may swim right in front of you, but without the camera ready you will miss the opportunity.
Next to buoyancy which will help when you are stable, always being ready to shoot in the next step.
3. Take Multiple Photos
Take as many photos of possible – I take hundreds. With the fish movement and the fact that they will be swimming around, it is best to take as many photos as possible.
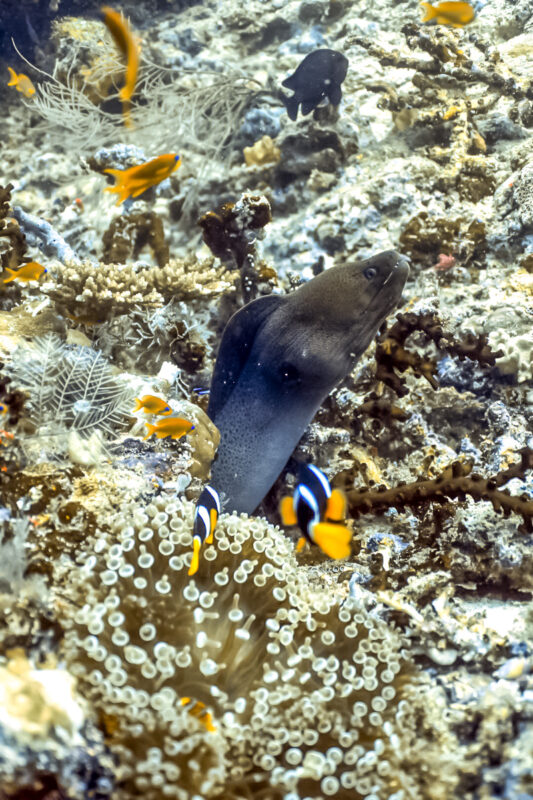
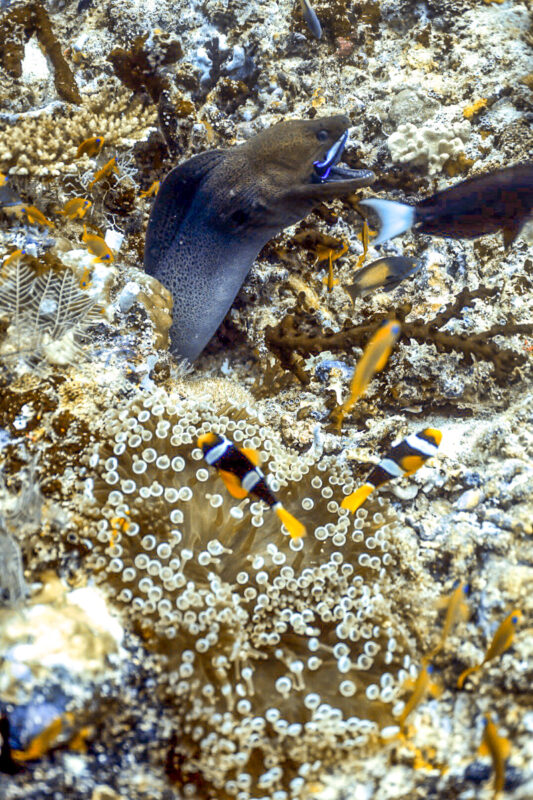
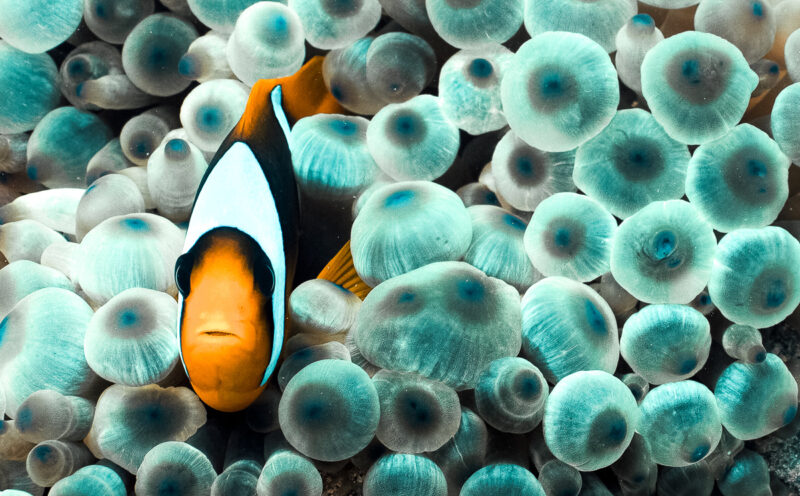
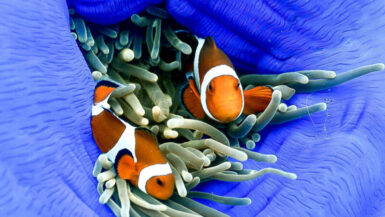
I have found that will surprisingly be a lot of differences in the photos even though they were only taken just a couple of seconds apart! For example, look at these ones with a moray eel and some anemonefish. I feel like each can tell a different story: so what story do you want your photos to tell?
Additionally, this will help with some of the next important features.
4. Have the Correct Lens
What’s the best lens for underwater photography? It depends. Are you photographing large or small creatures? What’s your goal? I recommend getting one macro lens and one fish eye lens. When you are receiving your dive brief check what the dive site is known for and decide which lens you will use based on that.
Here are some scenarios:
- Lens for a wreck dive? Fish Eye.
- Lens to use for a manta cleaning station? Fish eye.
- Lens for a dive at a rainbow reef with a lot of nudibranch? Macro.
This is more important if you use DSLR or cameras with different types of lens. Different subjects require different lens types:
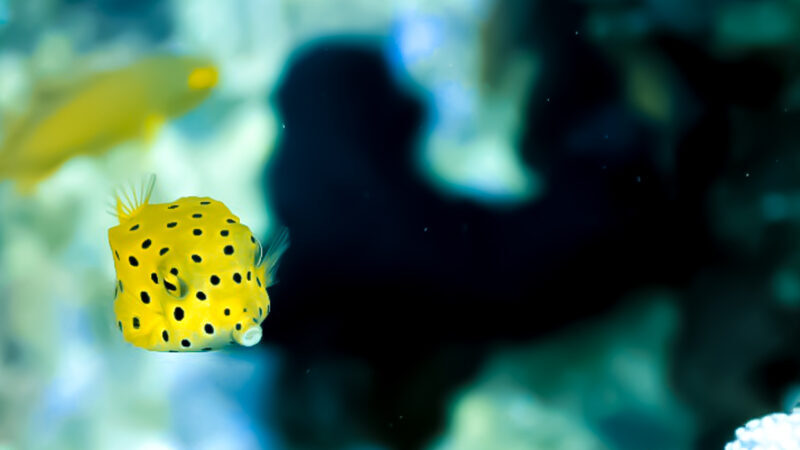
- Marco lens: you want a macro lens, or basically a lens that is going to zoom in really close. That nudibranch may not require much, but if you are trying to get some photos of the little shrimp? That is going to require a lot of zoom.
- Fish eye lens: one of the most popular underwater lens. This one, however, is best for taking photos of the larger ocean life like whale sharks, and manta rays. You still will have to be surprisingly close to get a photograph of larger animals – but it gives you flexibility if you are expecting large encounters (animal or wreck)
- Tokina 10-17mm
- Nikon 10.5mm
- Nikon 60mm Macro Lens
- Nikon 105mm Macro
Here are some photos that show the difference between the two lens. A fish eye lens will get a large subject into the frame even if they are close, whereas a macro lens will help you from having to get really close to a small subject.
5.Have Proper Lighting
You’ll learn as a diver that the farther you go, the bluer everything turns. With the lack of natural light the colour red, orange, yellow, then green. Here are the depths that you lose the colors at:
- Red – 5m / 15ft
- Orange – 8m / 25ft
- Yellow – 11m / 35ft
- Green – 21m / 70ft
Ultimate take away? You will need to make up for the lack of lighting as you go deeper. This is where strobes come in. Another option is to use a flash light or a large video light to shine in order to bring the colors back.
Those with GoPros typically use a red filter for underwater photography and videos to make up for the lack of color.
You will not always need strobes or lights. If you do not have the large set up then your best bet for photos that are not blue tinted is to stay at shallower reefs. I have found sticking around 10-15m will still result in some beautiful underwater photography without strobes.
 6. Have the Eyes in Focus
This may seem like a random tip for underwater photography but I feel that it has helped the quality of my photos.
When going through the photos look closely, are the eyes in focus? The eyes are the center of the subject, our eyes are always drawn to other eyes. While the rest of the photo may look clear if the eyes are not in focus the photo will feel off.
So always try to get the eyes in focus in the photo. If in the post production the eyes are not in focus, then may have to axe that photo. This is why the previous recommendation of taking as many photos as possible can assist.
 7. Be Artistic
This may contradict the above one – sometimes you can use just artistic liability. Maybe the photo is blurry to show movement. Or try different angles to reflect a story or a setting that you want.
Ultimately, there can be all the rules for days on how to have the perfect underwater photograph. However, the end of the day it can really depend on the eye of the beholder. This is important for underwater photography tips because it ensures no matter what that the photography remains true to you.
Don’t be “that guy”
If you are diving as a group then this is a group effort – don’t be “that guy” who is ruining the dive by lagging behind, or pushing people out of the way to get a photo, or shoving go pros in peoples faces. No one likes that guy, and unfortunately, if you are doing that more than likely your photos aren’t going to be very good anyway. One of the best underwater photography tips is to make sure not only you are happy – but everyone in your group can enjoy the dive as well.
Enjoy the scenery
The last, but the most important of the underwater photography tips, is to enjoy the scenery. Sometimes people get too absorbed in capturing things on their camera that they lose sight of what is going on around them. Always look around, enjoy the dive and appreciate the ocean.



Leave a reply